 Quick QR
How to Make a Wi-Fi QR Code
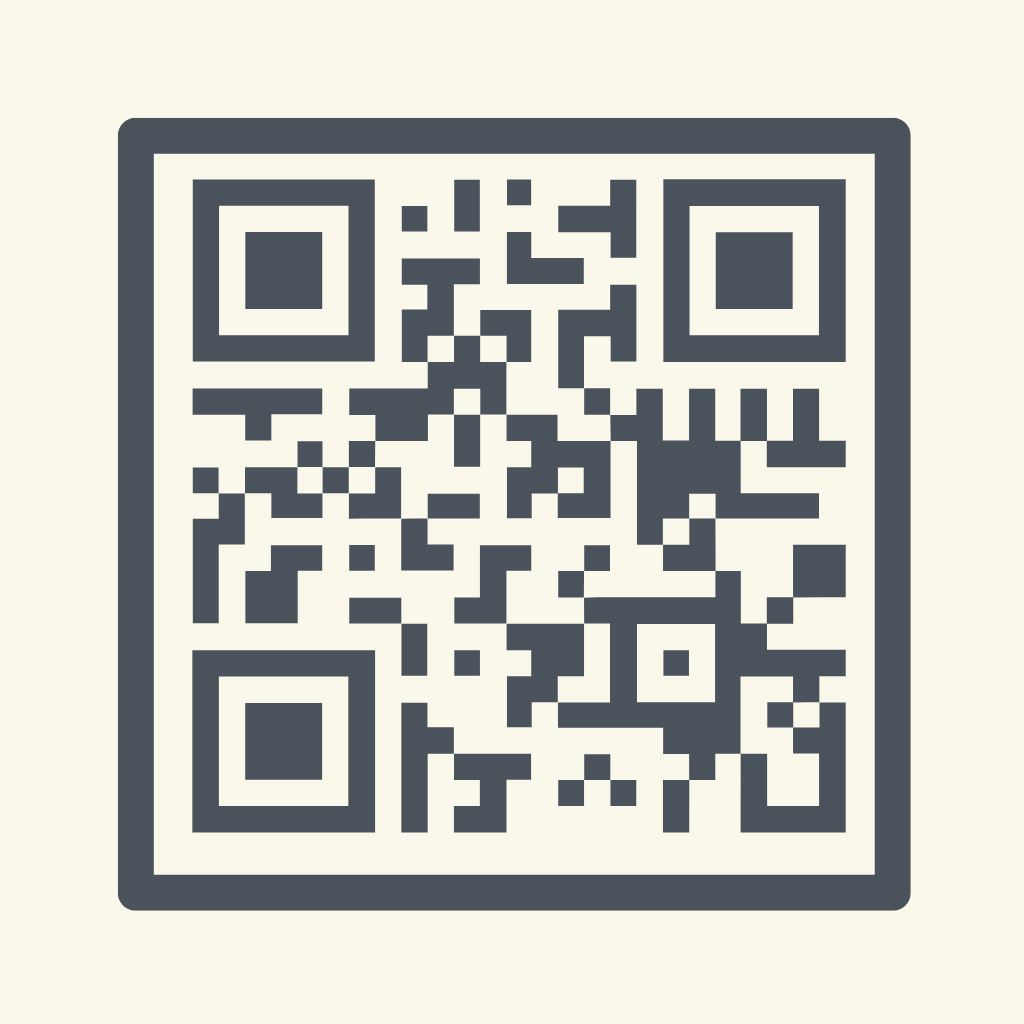
Spelling out "capital R, underscore, lowercase x..." to every guest gets old fast. A Wi-Fi QR code ends it: one scan and their phone joins your network automatically.
The quick answer
In Quick QR, choose the Wi-Fi content type, enter your network name (SSID) and password, and the code generates instantly. Any modern iPhone or Android camera scans it and offers to join the network — no typing, no mistakes.
Step-by-step: make and post your Wi-Fi code
- Open Quick QR → Create → Wi-Fi.
- Enter your network name and password (and security type — almost always WPA/WPA2).
- Style it. Pick a color theme that keeps strong contrast, and optionally add a small label like "Scan for Wi-Fi."
- Drop it into a sign template. A Card Message or Arch Poster layout turns the bare code into something you'd actually frame.
- Save and print. Put it where guests naturally look — by the door, on the fridge, on the guest-room desk.
How guests use it
iPhone: open the Camera, point at the code, tap the "Join Network" banner. Android: same, with the camera or Google Lens. No app needed on their side — which is exactly why Wi-Fi QR codes have become standard in cafés and rentals.
Changing your password later
QR codes are static — if you change your Wi-Fi password, generate a new code and reprint the sign. It takes under a minute, so an annual password rotation is painless.
Running a rental?
Wi-Fi questions are the #1 guest message Airbnb hosts get. The rental Wi-Fi guide covers the welcome-book setup that stops them entirely.
Make it in minutes with Quick QR
QR codes for Wi-Fi, links and contacts — dropped into print-ready templates with your colors and logo. Free to start, works offline.
Download Free on the App Store